Serving Boards
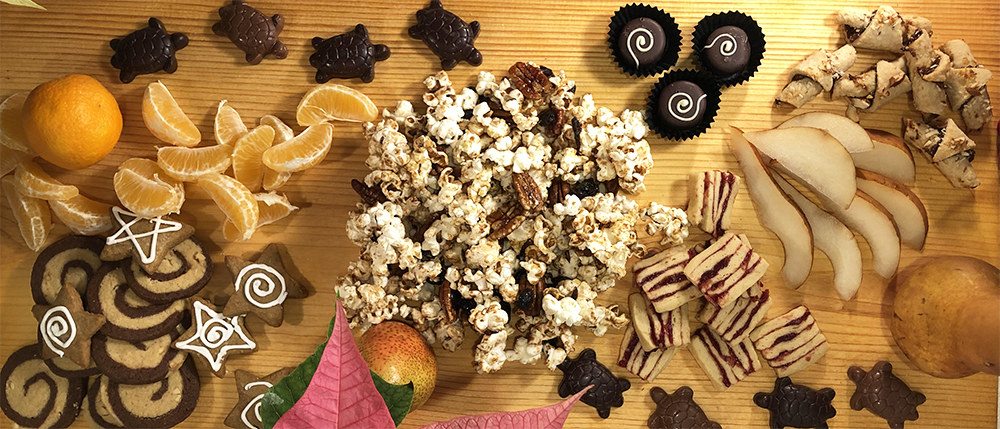
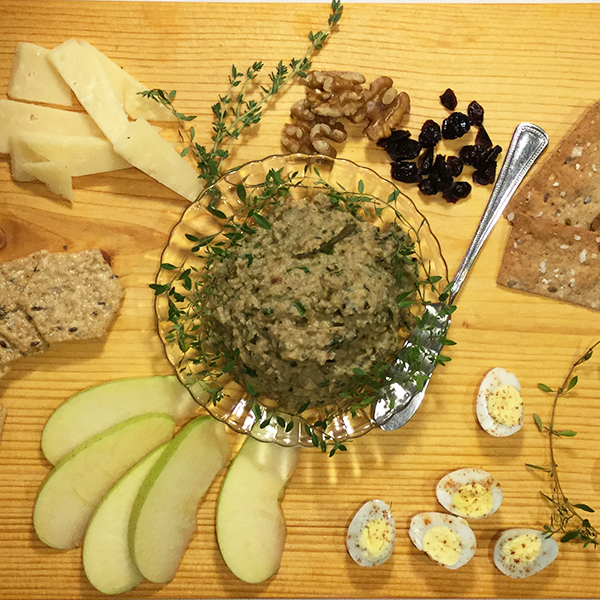
A year or so ago I saw a sidebar in a cooking magazine where they had taken an actual plank, finished it, and used it like a giant appetizer serving dish. (Martha Stewart November 2017) . It was brilliant and gorgeous!
I loved the rustic look and clean lines of foods placed directly on the board. Delicious bites, artfully arranged! It was so friendly, casually elegant and very inviting. Great for entertaining!
I wanted to recreate something that would work for our big holiday meals, which is usually a lot of folks in a smaller space. I imagined lifting the plank over everyone’s heads and out the kitchen door to…. sit in snow? Another problem to solve is the pileup of dishes in the kitchen when we pull the appetizer dishes and serve the main meal. So it made sense to cut the plank into boards that could be easily moved, cleaned and stored. When it was time to clear you could put any savable food quickly in the fridge, rinse the board and tuck it out of the way.
It’s a lot of fun to take all of your appetizers and arrange them on a board.
And (even more fun) you can give this to your kids or friends as a way to help (play).
Beyond appetizers you can also use the boards as cookie plates, dessert boards, fruit displays, etc…
They make a lovely gift when filled with food and wrapped.
Oh and did I mention that they are great for (amateur) food photos.
One thing they cannot do is be used for a cutting board. For that you would need a harder wood to start.
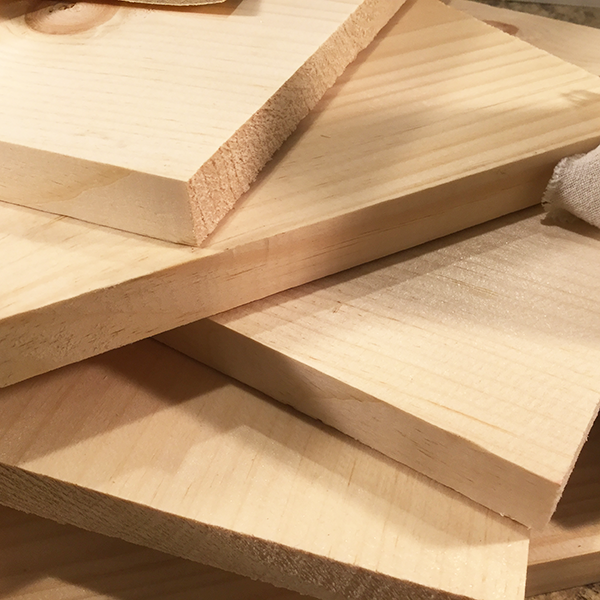
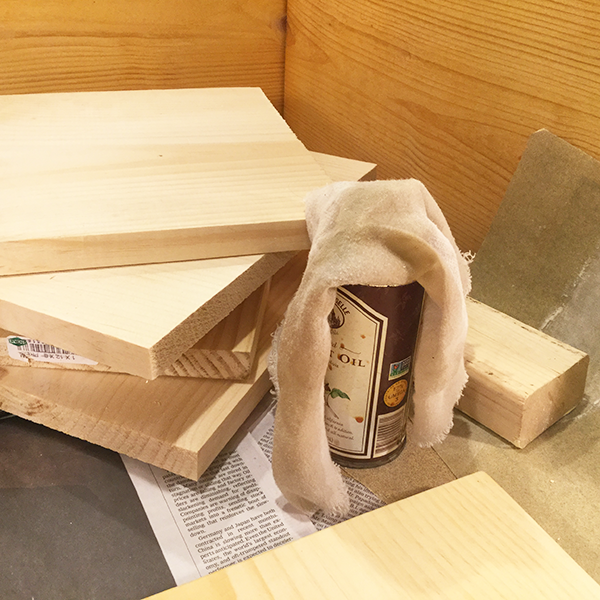
To make this version of a serving board I went to the lumber department and chose a nice looking piece of clear pine (best quality) ,1-inch by 12-inch by 8 feet. The store cut it to the sizes I asked.
When home I sanded, cleaned and oiled the boards. After they dried I oiled and dried them a few more times and I was good to go. (The more layers of oil the less likely the boards will stain from foods like beets, pomegranate, red wine, other oils…)
Note: I have also made serving boards from lesser grades of pine. I loved the look of all the knots. These boards took more sanding and more oil. They also presented a food safety problem because the knots had cracks and crevices which would be really hard to sufficiently clean. I rubbed beeswax into holes after I sanded before I oiled.
They are usable for now, but it’s easier to get the better pine to start with.
I followed the age old advice of “oil once a day for a week, once a week for a month, and once a month for a year. After that once a year or when needed.”
And I also have used them after the first week before the whole process was complete. (Continue the oiling schedule after clean and dry.)
It sounds like a lot of trouble but is actually pretty easy to oil the boards and only takes a few minutes. (Start now for next winter holiday gifts.)
I choose to use organic walnut oil for my boards (at my local store, great for wood, and quite edible) but there are other food safe wood protecting oils and products you can use.
How to make serving boards
1 piece clear (the best kind) pine – 1 inch by 12 inch by 8 feet cut into pieces ( 4 two foot or 2 three foot plus a two foot… etc)
2 sheets sandpaper – one fine and one medium
16 oz organic walnut oil
Choose your board and have it cut at the lumber yard or store to desired sizes.
I spread an old (rag) towel or newspapers out on a table.
With the medium grade sandpaper gently sand the entire surface of each board including sides. Look for any scratches or nubs and sand them out. Sand down all corners and edges rounding them. Brush and wipe off all the dust.
With the fine sandpaper gently sand the entire surface of each board.
Wipe clean and then vacuum each board and entire work area.
With an absorbent soft cloth generously oil one side and edges of each board rubbing it in as you do. Let sit for a few minutes and then wipe away any excess oil. Put the boards in a place where they can dry for at least an hour undisturbed. Turn each and repeat the oiling process on the other side.
Set boards aside for a day and then repeat the oiling process each day for a week.
After the first week then repeat the process once a week for a month.
Then repeat once a month for a year.
And then once a year or as needed for the life of the board.
If you don’t get this exactly perfect don’t fret.
Follow the routine as much as possible.
If you want to use the boards before the whole process is done that’s fine. Wash and dry when finished using and continue the oiling where you left off.
Do note that the board is more likely to stain before the oiling process is done.If you have something like beets or pomegranates then put a lettuce leaf or little dish under them.
And remember that pine is a soft wood and will mark easily so do not use as a cutting board.

